


How To Sharpen Your Skiving Knife January 12, 2021 – Posted in: Leathercraft 101 – Tags: how to sharpen you knife, knife, learn leathercraft, leather leather craft, leather leatherwork, leathercraft 101, sharp, skiving
The number one rule of using a knife is to ensure that the blade is kept sharp, after all a blunt knife can cause more damage than a sharp one. Think about it, with a sharp blade you will cut through leather like butter with very little force behind the blade. Now think how much pressure you would need to apply to cut through the same leather with a blunt knife. Lots! With more pressure applied you are more likely to slip and damage your work or worst case injure yourself. As your skills grow and you venture into the world of edge finishing you will notice it’s essential to ensure you have a very clean edge before you start to apply Tokonole or edge paint. To achieve a clean edge you are required to have a very sharp blade especially when it comes to working with softer leathers. We will be exploring edge finishing in a later post, however, today we will focus on learning how to sharpen your knives.
Before we dive into how to sharpen your knife you need to understand that there a four main factors that ensure you get a perfect edge on your blade.
- Abrasive
- Sharpening Angle
- Burr
- Consistency
Abrasive
When you are sharpening a knife you will need to use a form of abrasive to remove metal from the blade.
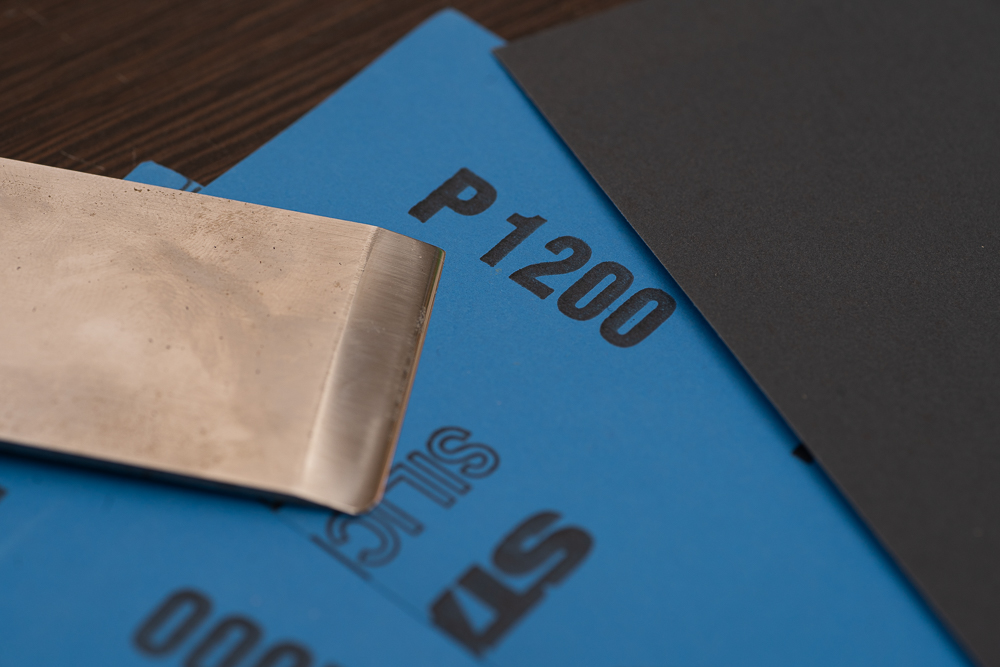
Traditional you would sharpen your knife using a Whetstone otherwise known as a Sharpening Stone. Whetstones come in a variety of grits the most common being 350-5000. But what does this mean?
In summery the lower the grit the faster it will remove metal from the blade, however, it will also leave bigger scratches and a rougher finish. The higher the grit the slower it removes metal, however, will give you a polished finish. You can break the grits down into three categories Fine, Medium, and Coarse. While there is a lot of discussions on which girt should be classified as fine, medium, or coarse I feel that the following should be considered.
- Less than 1000 grit – Typically used to repair a damaged edge.
- 1000 to 3000 grit – Sharpened a good edge.
- 4000 to 8000 grit – Used to finish and get a mirror finish. However, in leathercraft, I would recommend using a strop with good quality paste instead of going up to this grit paper.
A coarse (lower number) abrasive is generally used for repairing an edge or putting a new edge onto a blade. The medium grit is an all round everyday grit used to get you an edge and maintain your blade, whereas the fine grit is used to polish the edge.
What abrasive options do I have?
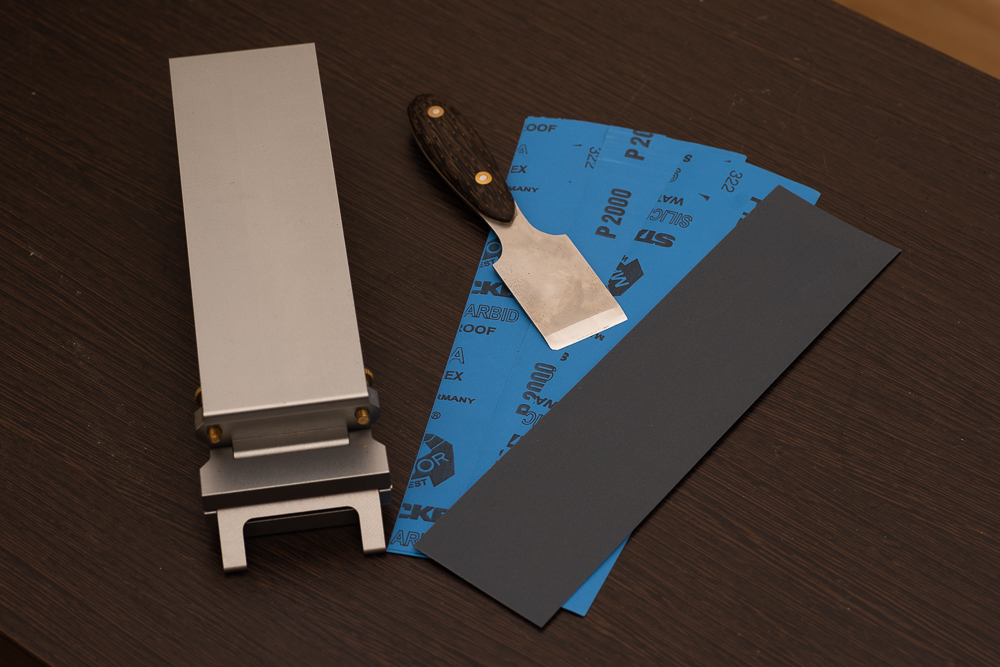
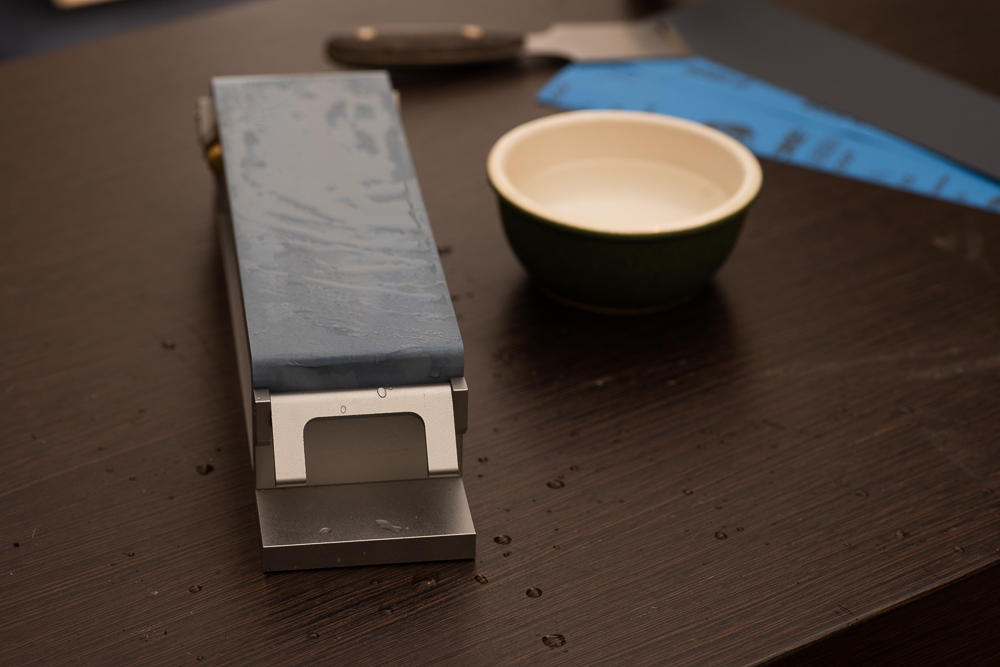
Traditionally you would sharpen your knife using a Whetstone and while this is still very popular I prefer to use sandpaper which is clamped into place on our sharpening system. This allows me to experiment with different levels of grit easily and quickly. While removing the need to wait for my whetstone to absorb enough water or ensure it has a smooth surface. However, that being said a Whetstone is still by far the most popular option when it comes to sharpening knives.
For the remainder of this tutorial, I will be using our sharpening jig however you will be able to apply the same rules if you are using a Whetstone or paper.
Sharpening Angle
The art of sharping a blade is simply removing metal from the blade at an angle that then results in the blade becoming sharp. Simple yes? Actually yes it is very simple, it just requires a little practice.
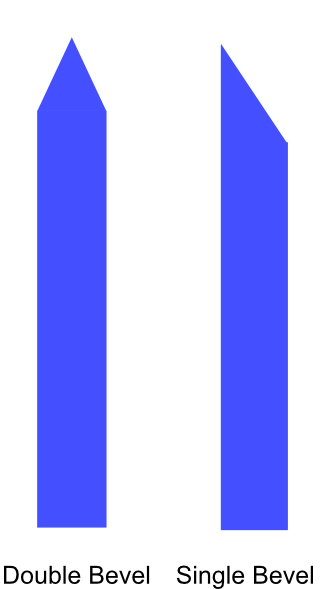
Single Bevel Vs Double Bevel
Most knives you use in the home will be double-beveled meaning it has an equal angle on both sides of the blade, both of which will need sharpening. However, the majority of leather knives are single beveled meaning one side is flat while the other has an angle applied to the blade. On a single bevel knife, you only need to sharpen one side of the blade, you do on the other hand need to remove the burr from the other side (more on that later).

What Angle Should I Sharpen My Blade?
When you purchased your knife the manufacture would have put an angle on the blade. For the sake of this tutorial, we will be using this as our guide. However to give you an idea of the relationship between the angle and the sharpness of your blade you should understand that the lower the angle the sharper the blade will be. With this in mind, it is also key to understand that having a lower angle will result in the edge being prone to chips and damage.
Burr
The burr is caused by sharpening your blade at a consistent angle that results in a microscopic lip being formed on the opposite side of the blade. This lip is called the burr, it’s worth noting that you won’t actually be able to see the burr however you will be able to feel it with your finger or thumb.
Once you can feel the burr on the flat side of the blade (single bevel) you are ready to remove it. To do this you can simply turn the knife over and using a fine grit paper place the blade flat on the surface and pull it back towards you. Be sure to check the burr after each pass, you won’t need many.
Consistency
Consistency is the main factor in ensuring you go from good to great results when sharpening your knives. What I mean by that is it’s very important that you keep a consistent angle on the blade otherwise you will not get that razor finish.
Putting It All Together

So we are now ready to start sharpening our knife, for the example below I will be sharpening a Single Bevel Japanese-style Skiving knife. However, if you were to use a round knife you would need to add a twist to your wrist when applying pressure.

We will be starting off using 1200 grit paper as this blade isn’t damaged its just blunt. Remember coarse grit paper -800 is only needed to fix an edge if it is chipped or damaged.

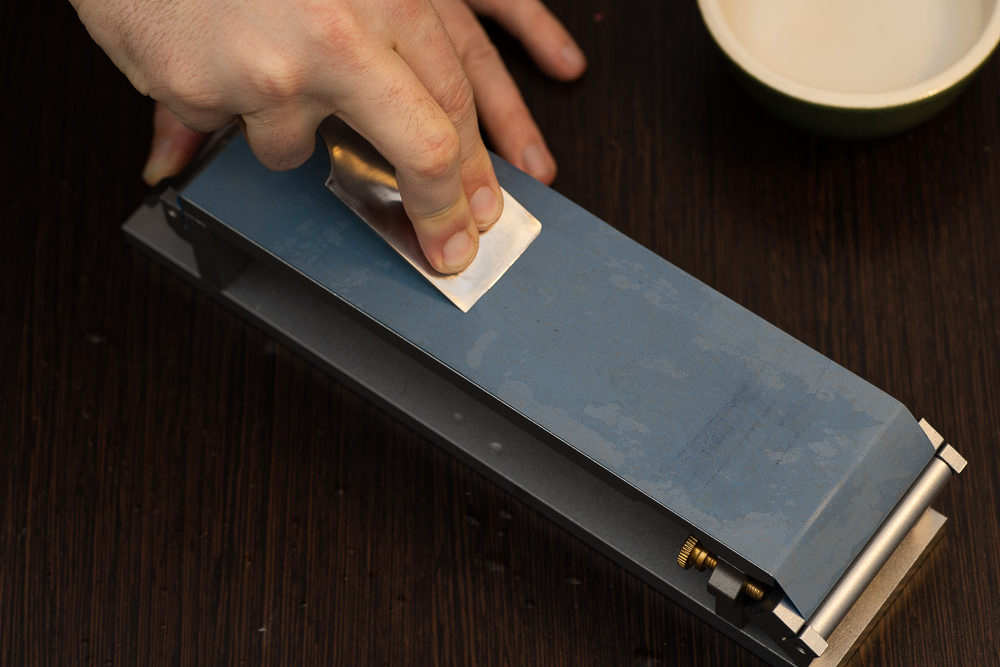
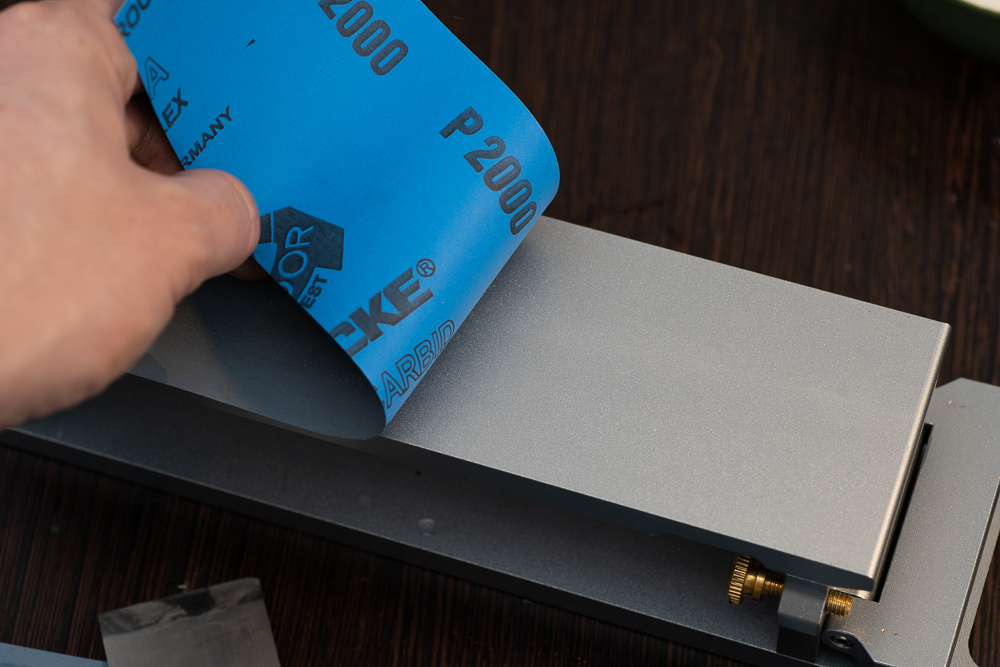
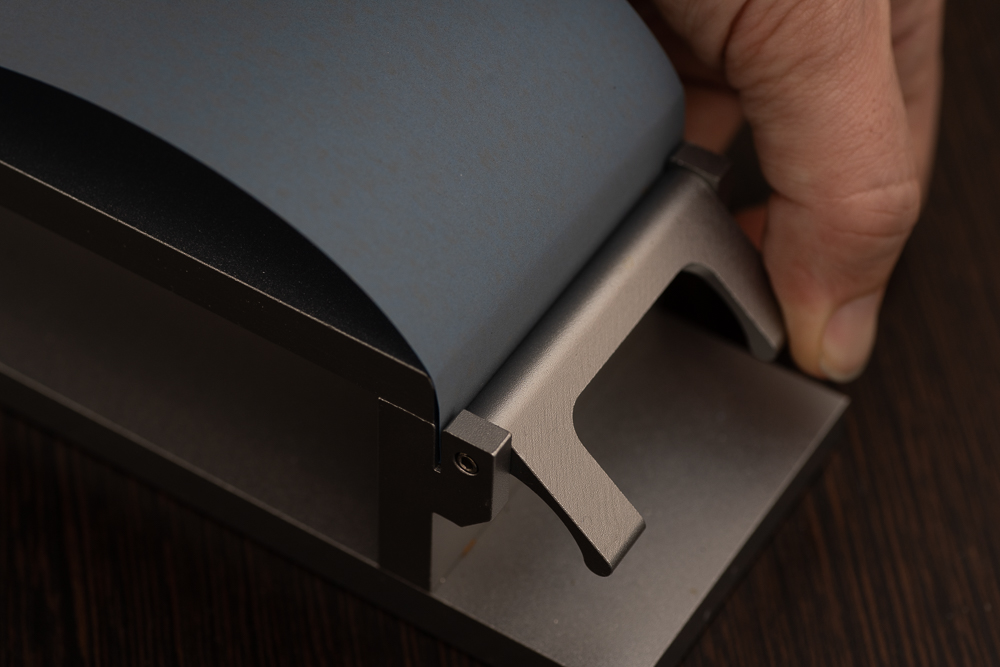
Lock your paper in place using the adjustable locking system. Ensure to tighten the screws to ensure the paper is taught and flat against the bed.

Add a small amount of water to the surface of the paper, enough to ensure the paper is damp but not soaked.

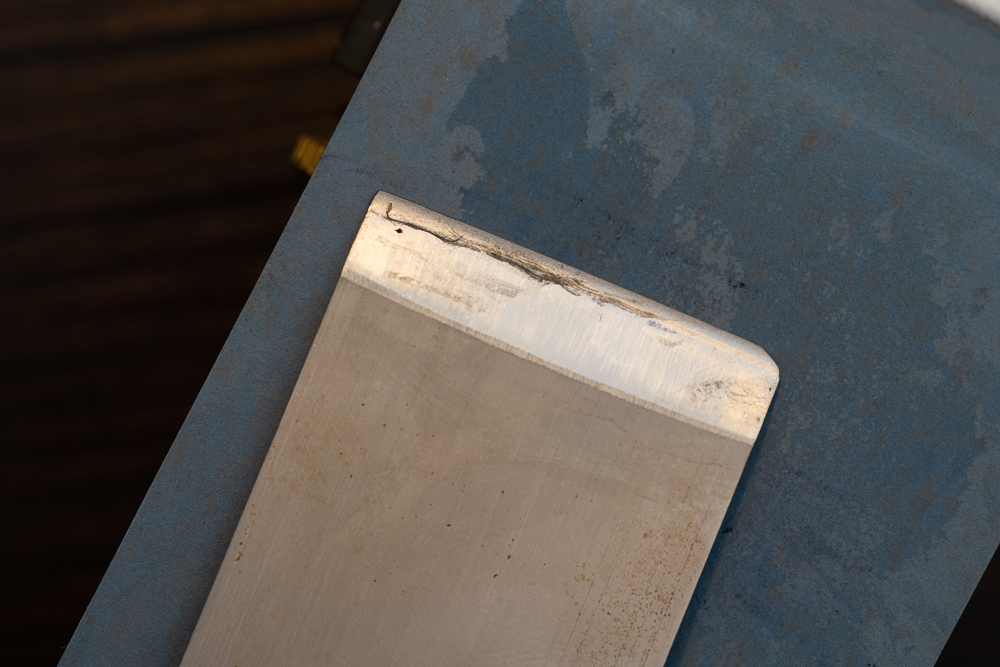
A top tip to ensure you are sharpening the part of the blade is to apply sharpie to the edge of the blade as shown.

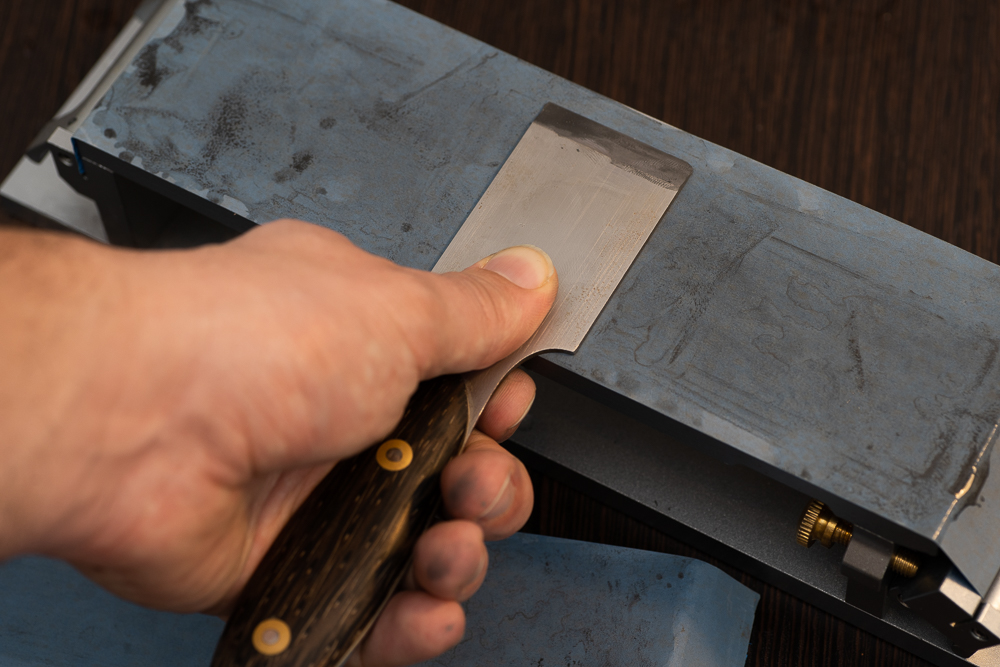
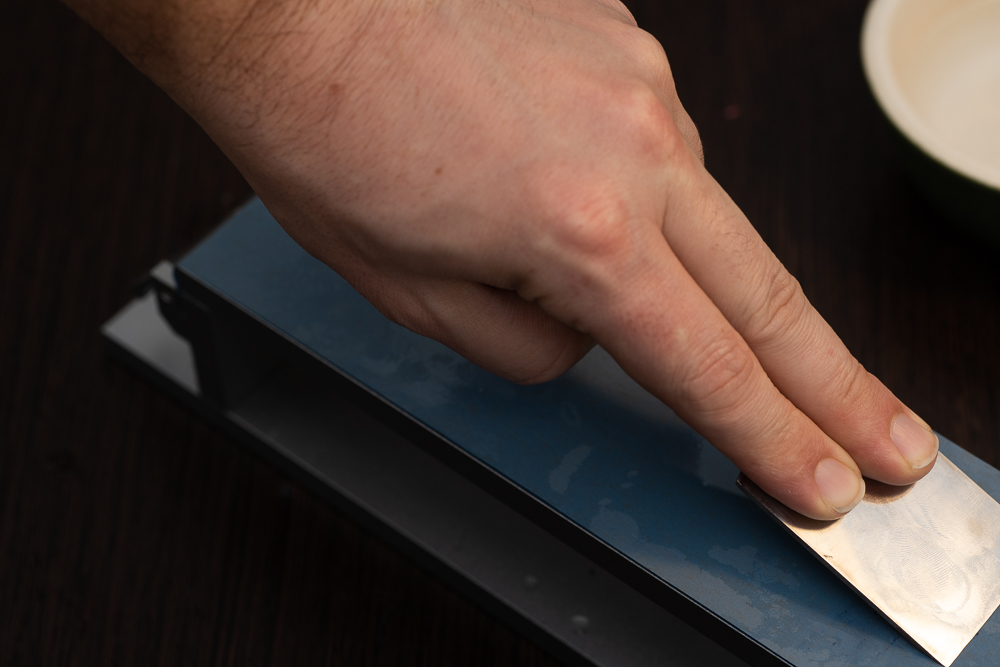
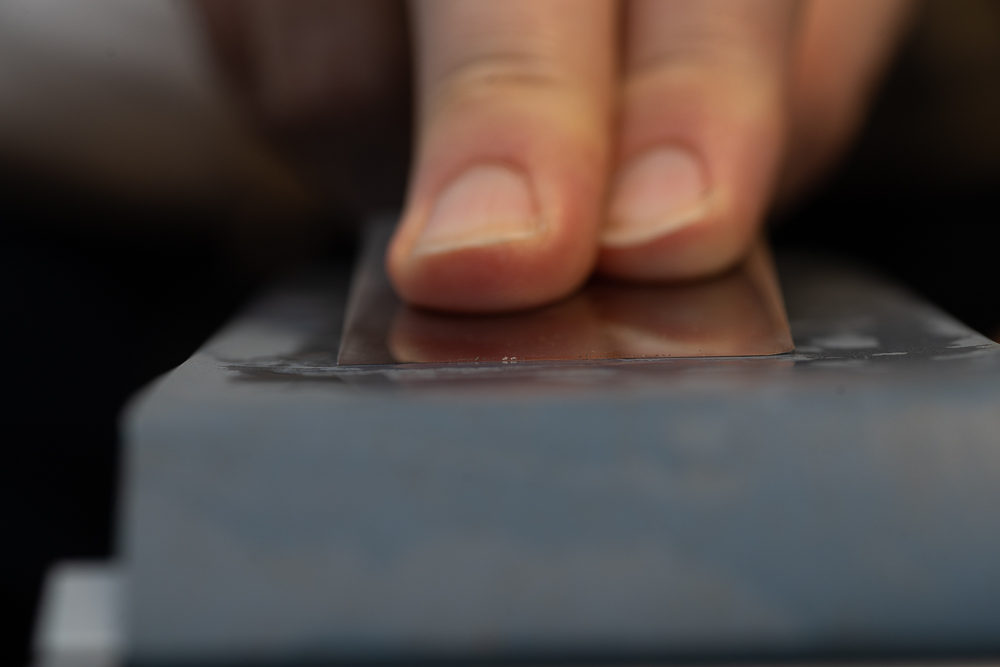
Take the handle in your hand and rest two fingers on the flat side of the blade.

Place the blade onto the paper at a 45-degree angle and then tilt the blade until you feel it is at the correct angle. You will feel when it’s correct, but don’t be scared to experiment a little, this is why you have the sharpie on the edge after all

Lock your wrist in place while applying downward pressure to the blade. It’s important to keep the blade angle constant.

With downward pressure being applied pull the knife towards you until you reach the end of the paper. Reduce the pressure on the blade and push the blade back away from you. It’s important to reduce the pressure but keep the angle constant.

Repeat this step three times before lifting the blade and inspecting the Sharpie. You are looking to see if the angle is consistent and that you are indeed sharpening the correct area. If you are happy with the results continue to sharpen the blade. The number of passes will depend on your blade, keep an eye on your Sharpie maker to stay consistent.

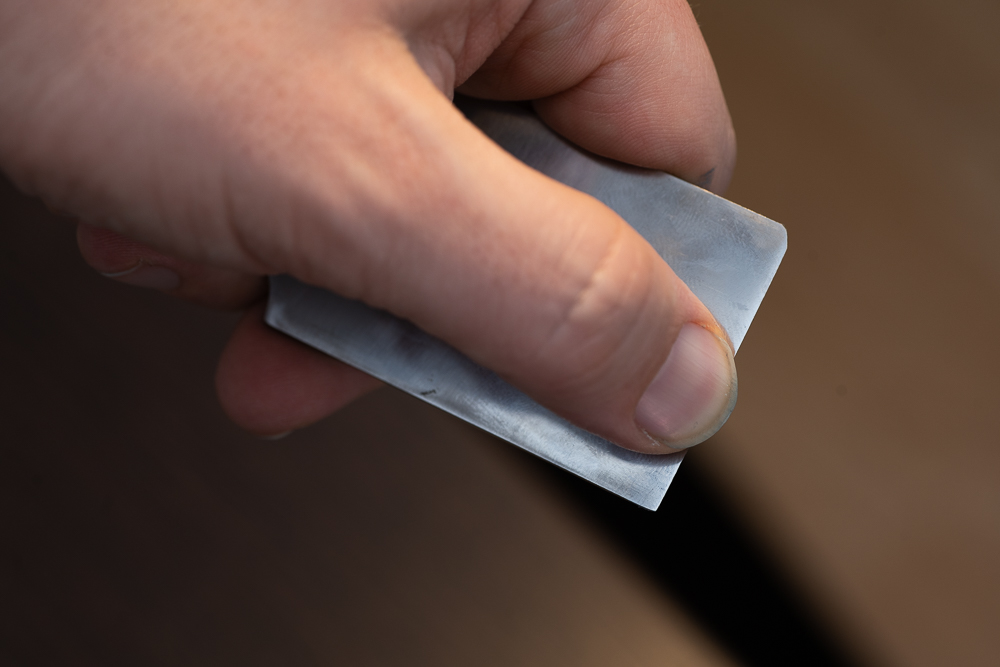
Check for burr using your thumb on the flat side of the blade.

Remove the 1200 grit paper and replace it with 2000+ or higher. Hold the blade at the same angle but only pull the blade towards you lifting it at the end of each stroke. Repeat this until you are happy with the results.

Turn the knife over and lay it flat on the 2000+ paper, holding the knife flat with the handle off the edge and an angle pull back towards yourself. Ensure light pressure is applied. Check to feel if the burr has been removed after each pass.

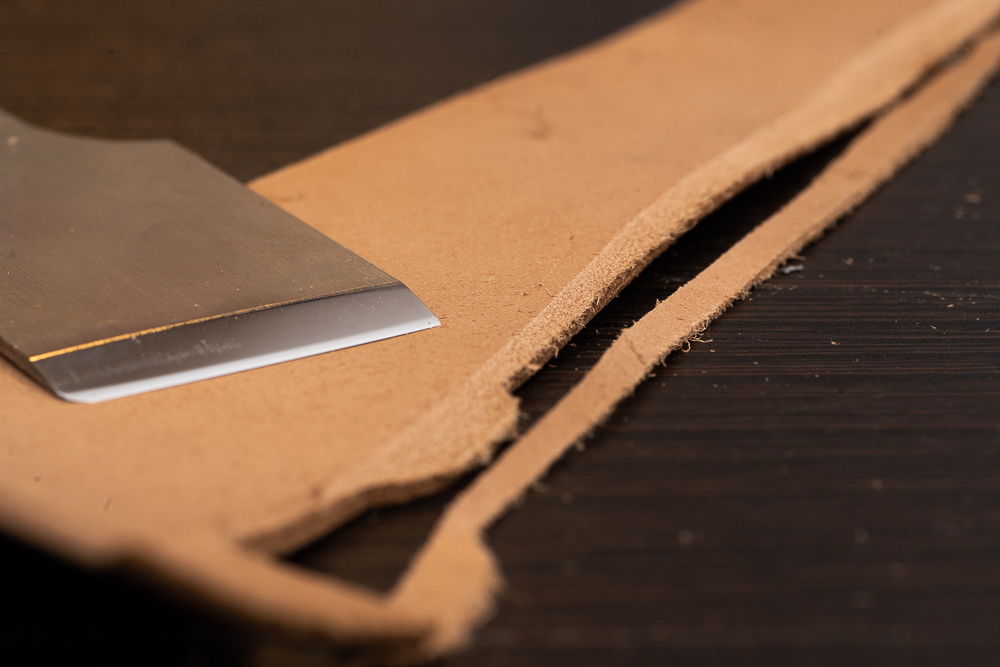
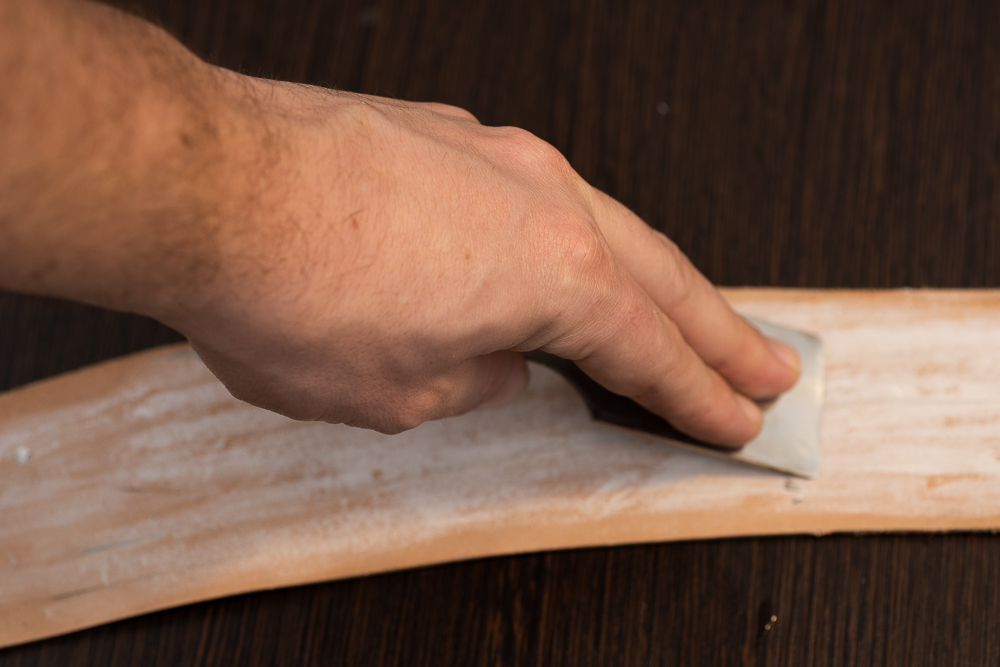
If you wish to get a razor sharp mirror finish you can repeat the last two steps on a leather strop using honing paste.

To test your results you can either test on a standard sheet of A4 paper or put the knife to the test straight away and skive down an edge of tough vegetable tanned leather.
As I stated above its vital that you understand how to sharpen your knives as this will mean the difference between a good project and a great one.
Any questions? Ask away I love to get your feedback and comments
-

 Premium Sharpening System£94.99
 -

 Seiwa – Tokonole Burnishing Gum£13.99 – £33.99
4 Comments
Edzard January 12, 2021 - 23:48
Do you have a recommendation for a good stropping compound?
Danny January 13, 2021 - 08:18 – In reply to: Edzard
Ohh this could be another post in itself, however I am currently using compound from local manufacture, same company that make Surf Poo which I have heard great things about. Sadly I have not yet tested it so cant comment.
To answer your question, a general green compound should be perfectly fine.
Eero January 13, 2021 - 17:02
Bravo!
Danny January 13, 2021 - 17:10 – In reply to: Eero
Thanks Mate, hope you are doing well.